Drain Tile
Solving Basement Water Intrusion
Hydro-Channel and Hydro-Channel Plus is an interior footing drainage system designed to prevent water seepage from entering the cove area of the basement (area where the floor meets the wall) and allows foundation wall seepage to drain harmlessly beneath the floor and into a drain tile system with a sump pump. The convenient, pre-formed, snaptogether design virtually eliminates the need for nailing and reduces installation time vs typical dimple board installations.
- Designed for block wall or poured foundations.
- Heavy duty, reinforced channel will not collapse during pour.
- Directs foundation wall seepage beneath basement floor.
- The heavy duty clear construction creates a clean finished look.
BEST FIT FOR FINISHED AND UNFINISHED SPACES
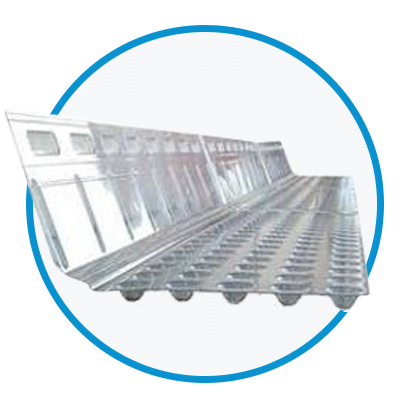
Hydro-Channel Plus
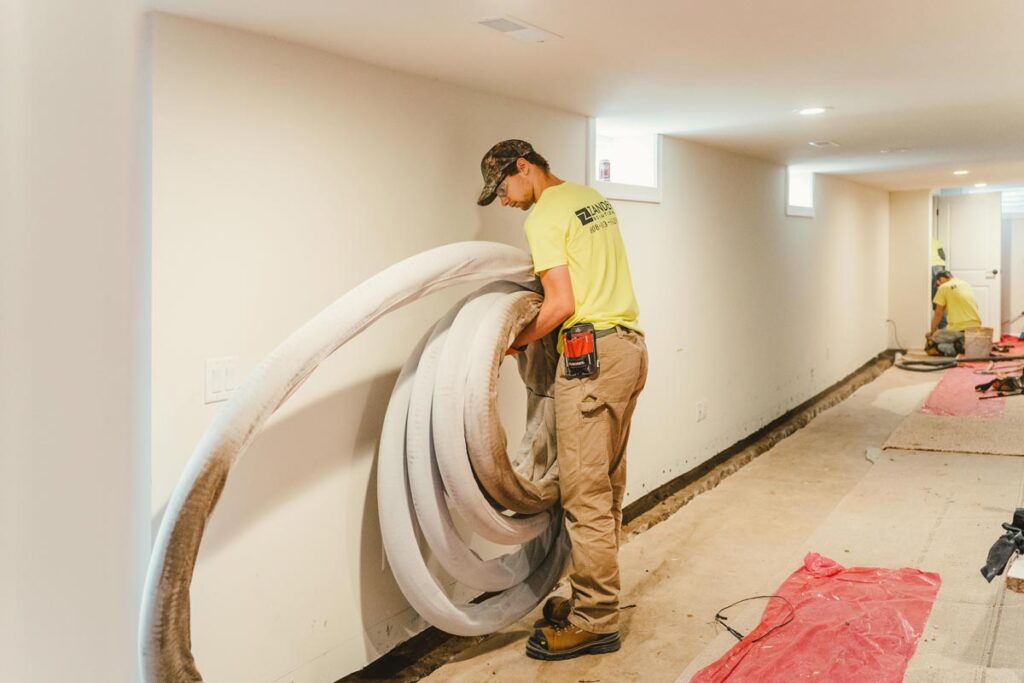
The hydro-channel plus system is installed on top of the footing and up against the foundation wall. This will allow any water pressure from outside of the foundation walls to transfer through the hydro-channel plus and into the drain tile system. The hydro-channel plus is used primarily with block and stone foundation walls, concrete walls that you cannot see because they are finished with drywall, and areas with little to moderate radon.
STEP 1
PREPARATION
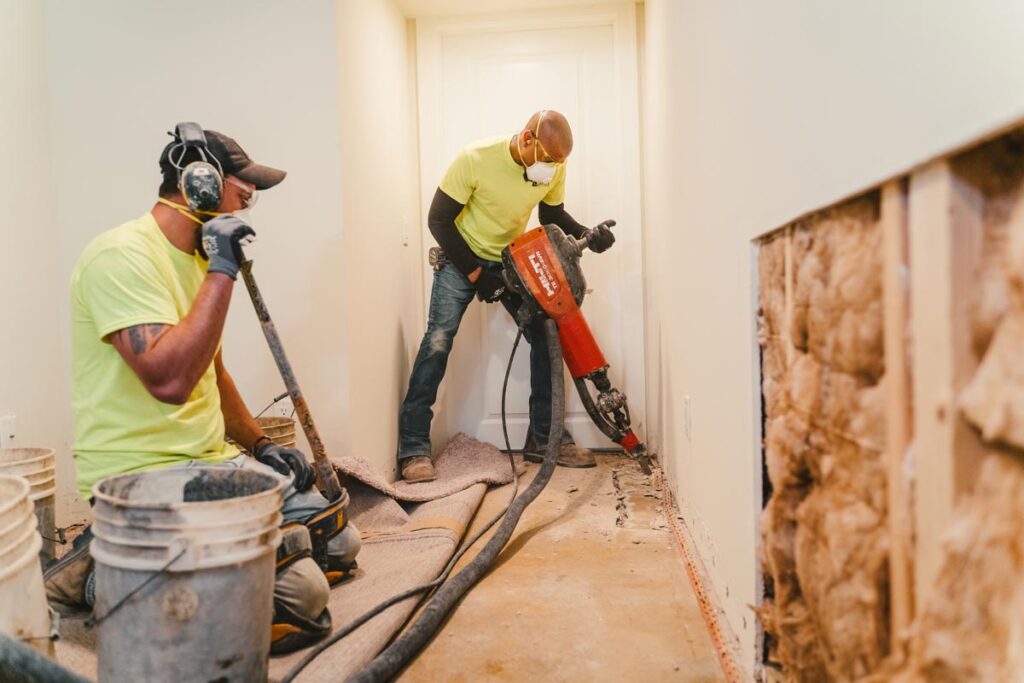
STEP 2
REMOVAL
STEP 3
READY
STEP 4
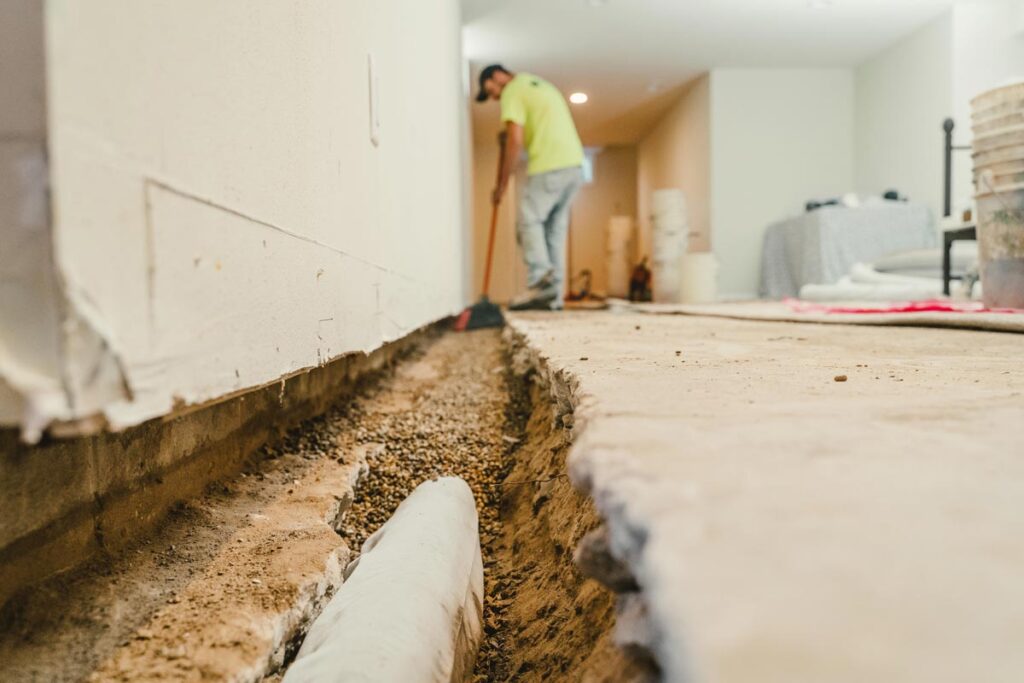
PIPE INSTALL
STEP 5
STONE
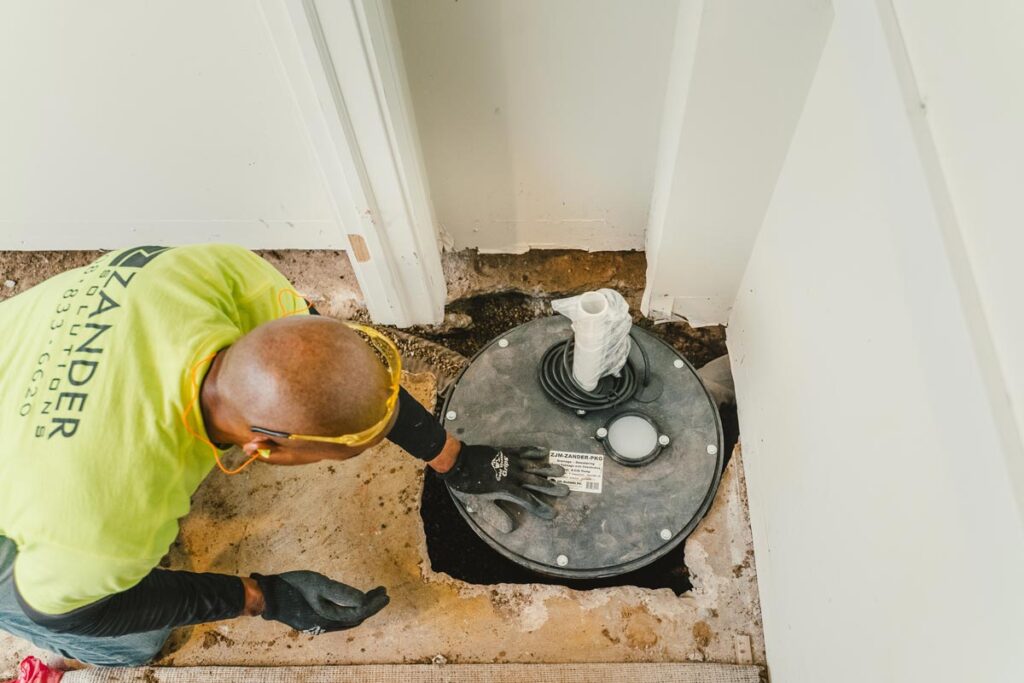
STEP 6
SUMP
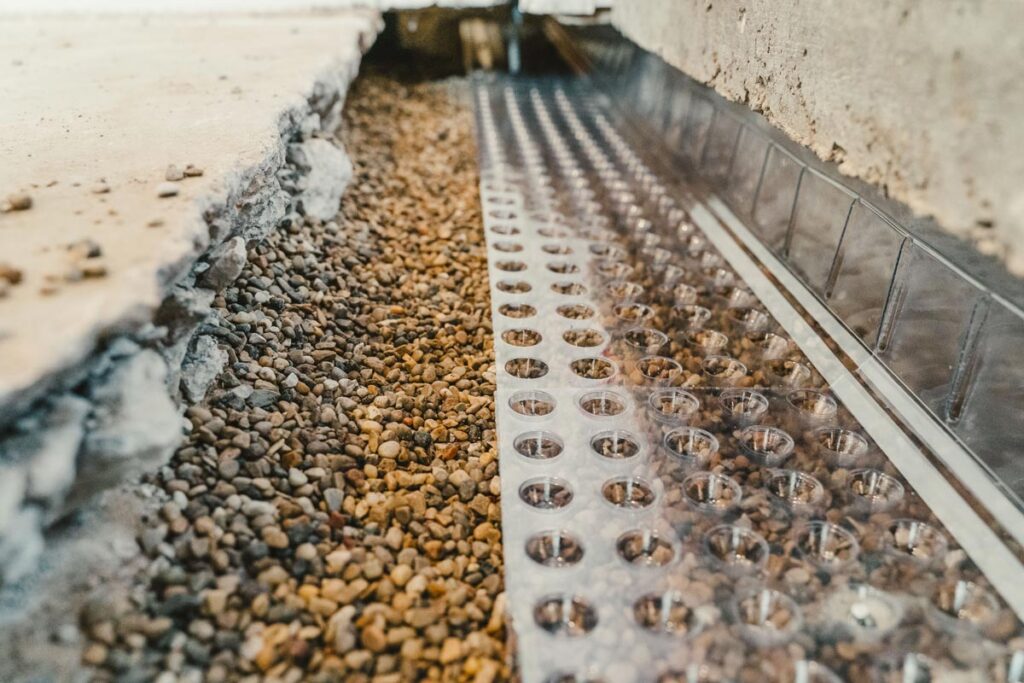
STEP 7
HYDRO-CHANNEL PLUS
STEP 8
CONCRETE


STEP 9
FINISH
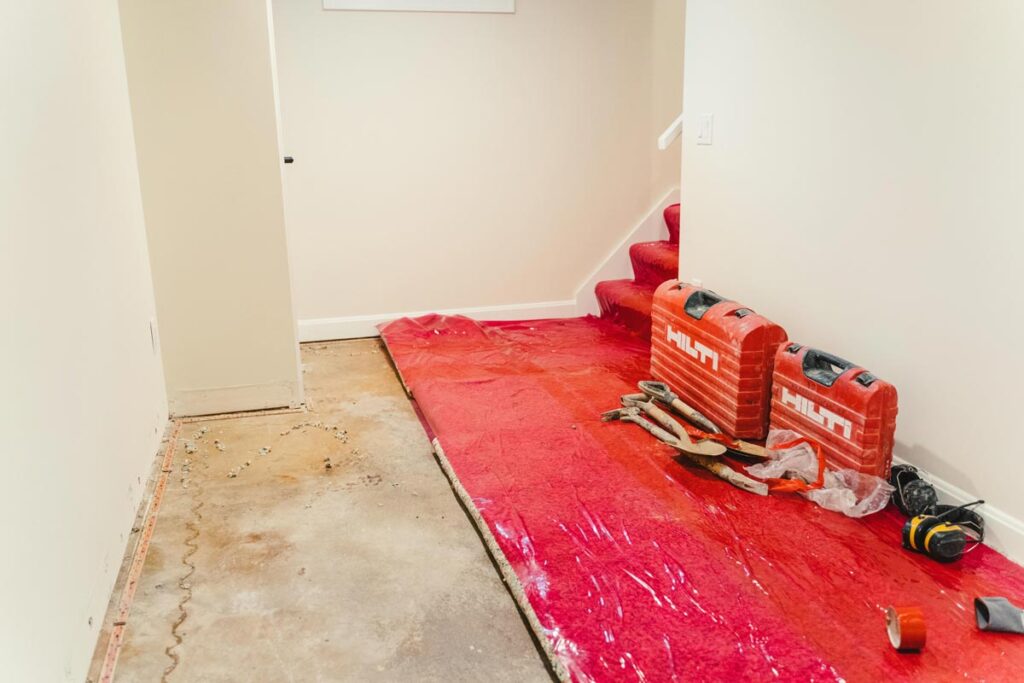
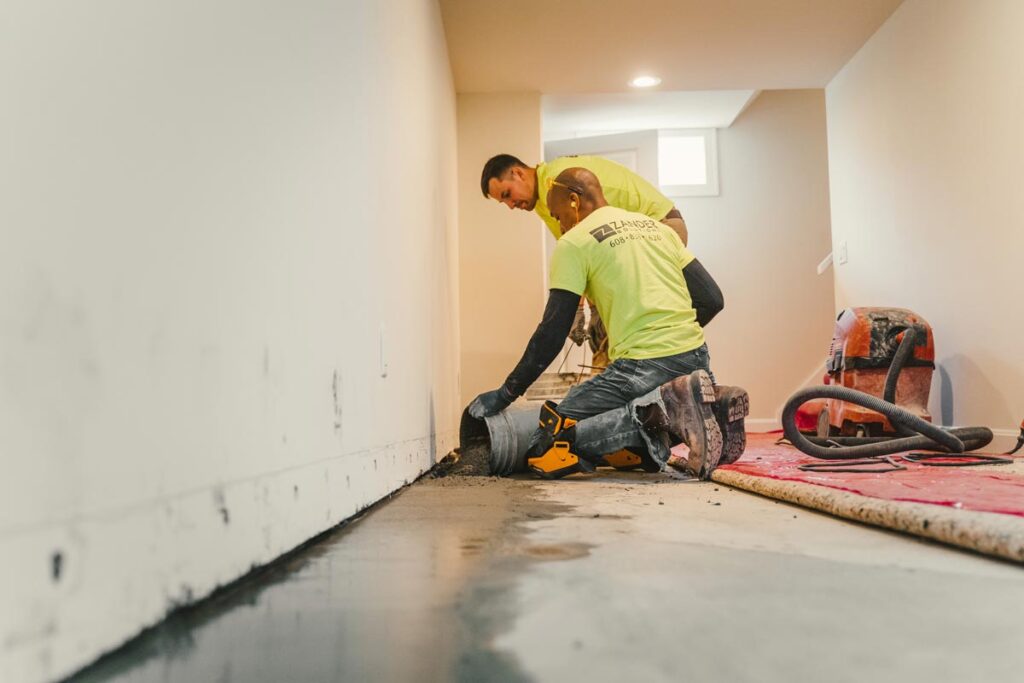
DRAIN TILE INSTALLATION
Watch Step-by-Step Installation
This basement drain tile installation was completed in just 2 days.
WET BASEMENT?
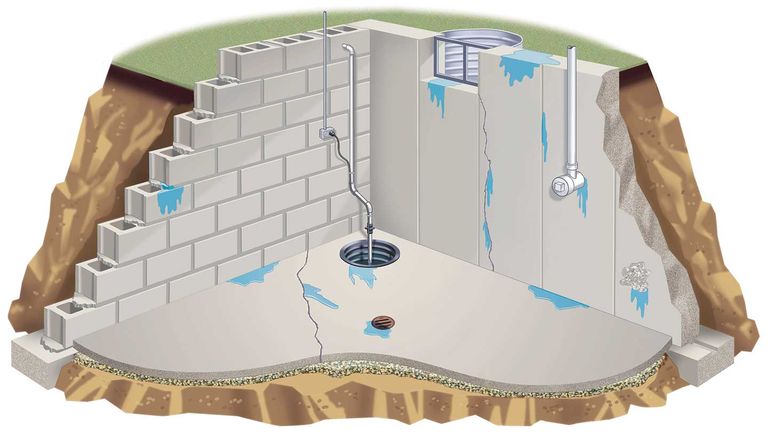
Understanding the Sources of Basement Water Intrusion
The spring melts and the heavy rains cause havoc on many homes. Water in the basement is one of the top issues for homeowners to deal with. There are many factors that can contribute to water entry into a basement.
• Improperly working gutters and downspouts
• Lack of positive slope away from the house
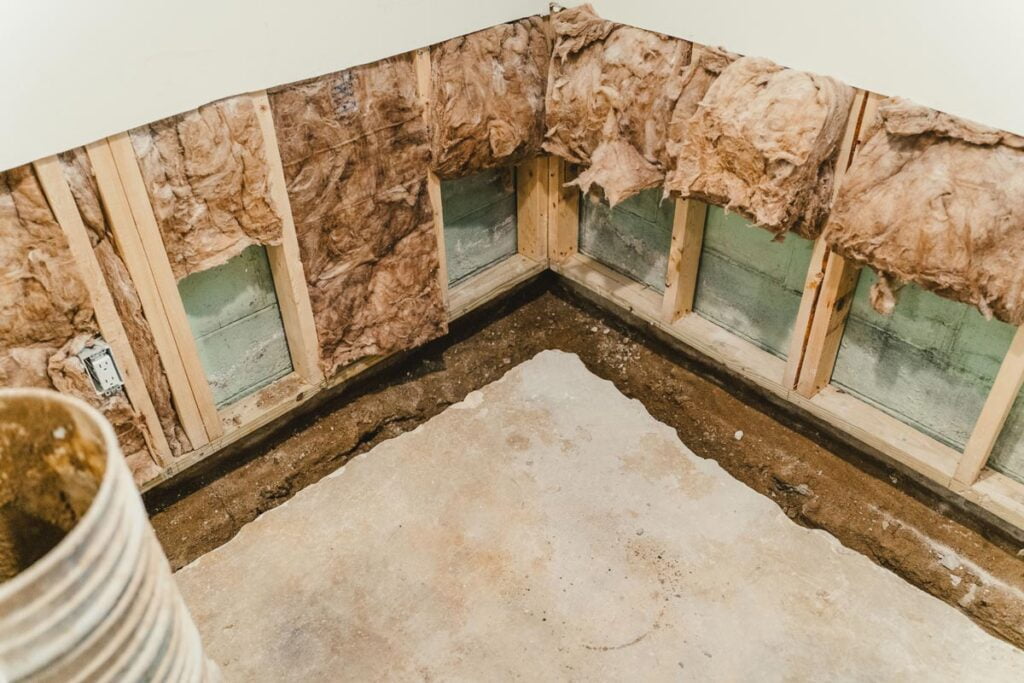
• Cracks or honeycombing in the foundation walls
• Hydrostatic pressure from under the basement floor
The most common types of foundation walls are: poured concrete, concrete block, and stone. Water can enter through the wall itself or it can come up under your floor – often caused by hydrostatic pressure. Hydrostatic pressure describes the outward and downward pressure caused by standing water pushing against any object or surface that blocks it, in this case — your basement walls. It is most commonly seen with foundations that do not have a drain tile system installed. Without a properly working drain tile system the water has nowhere to go except seep into your basement. Typically, without a drain tile system, you will see water entry around most or the entire perimeter of the foundation. A drain tile installation will correct the hydrostatic pressure issue and allow for a dry basement.